Step 1: Laying Out the Plan
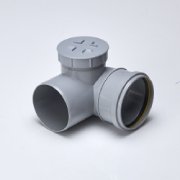
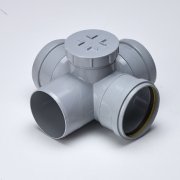
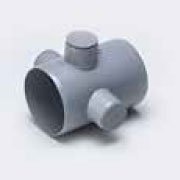
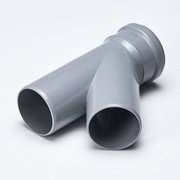
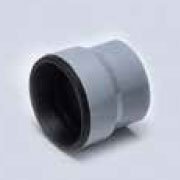
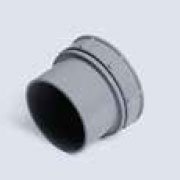
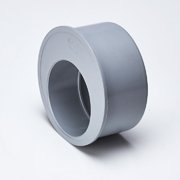
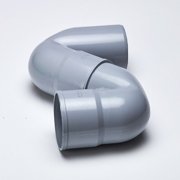
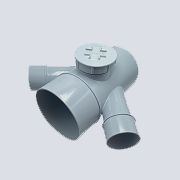
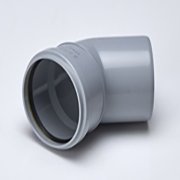
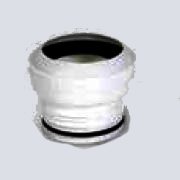
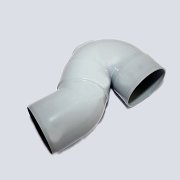
Prior to initiating the installation, planning the entire layout of the SWR pipe system is essential. Determine all points of drainage, bends, and where fittings such as SWR elbow, tees, and reducers will be employed.
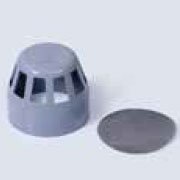
Ensure the layout provides a correct slope to facilitate smooth flow in the sewerage pipeline. Additionally, determine where inspection chambers or cleanouts will be located for ease of maintenance. Proper planning reduces excess joints and enhances flow efficiency.
Step 2: Cutting the Pipe
Once the layout is complete, cut the SWR pipe into the necessary lengths with a fine-tooth saw or a pipe cutter. All cuts must be straight and 90 degrees. Poorly shaped or angled cuts may lead to poor fitting and leakage.
Grip the pipe firmly while cutting to prevent cracks or splinters, particularly because most SWR pipes and fittings consist of robust plastic material.
Step 3: Deburring and Chamfering
After cutting the pipes, deburr the inner and outer edges with a deburring tool or sandpaper. This eliminates sharp burrs that can interfere with proper joint fitting. Chamfering the outer edges at an angle (10°–15°) makes it easy to insert into the SWR fittings and provides a leak-free and strong seal. This process also enhances the overall flow in the plastic drainage pipe system.
Step 4: Dry Fitting (Trial Assembly)
It’s best to dry-fit all parts before any adhesive application. It involves putting the SWR pipe and SWR fittings together without solvent cement to verify that everything fits well. Dry fitting serves to check angles, direction, and fit. Mark the ultimate positions with a pencil so you can use them as guides for the last assembly.
Step 5: Cleaning the Surface
Clean the outside surface of the pipe end and the inside surface of the fitting socket. Remove dust, oil, or moisture using a dry, clean cloth. Never use petroleum-based cleaners since they can ruin the pipe surface. A clean surface is best for improved pipe and fitting bonding with solvent cement.
Step 6: Application of Solvent Cement
Apply an even layer of solvent cement to both surfaces — the outside pipe surface and the inside socket of the fitting. Apply with a brush for an even coat. The solvent must be compatible with SWR pipes and fittings.
Insert the pipe into the fitting right away with a twisting motion to distribute the cement evenly. Hold the joint for 30 seconds to allow a good bond. Clean off any excess cement.
Step 7: Setting Time and Curing Time
Let the joint set for a minimum of 15 minutes before touching. For complete cure, particularly in pressure or load-bearing applications, wait 24 hours. Do not disturb the joints while waiting.
In case the environment is cold (temperature lower than 10°C), add more setting time before testing or putting the sewer line pipe into use.
Step 8: Support and Alignment
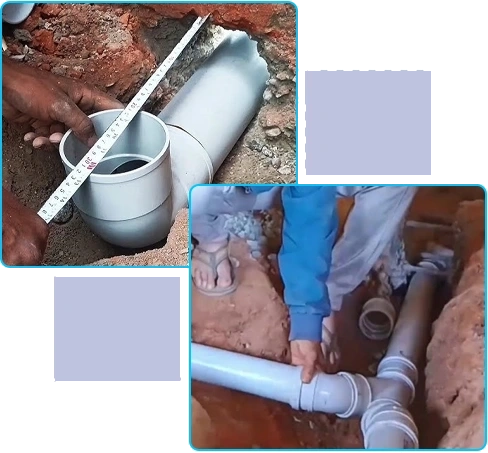
Support the SWR pipe with a proper SWR clamp or brackets. Support horizontal pipes at intervals ranging from 1 to 1.5 meters. Support vertical pipes at every floor level or intervals of 2 meters.
Avoid tightening clamps too tightly because it may inhibit thermal movement or hurt the pipe. Careful alignment provides no unnecessary stress or bending to the joints.
Step 9: Testing the System
After curing, test the whole sewage pipeline by charging it with fresh water to identify any leaks. Avoid air pressure testing since it poses a danger to plastic systems. Leaks at joints should be cut and replaced—never be mended by additional cement application outside after curing.
Step 10: Last Protection
If the SWR pipe system is installed outdoors or in sunlight, cover it with insulation or UV-resistant paint. For pipes running through walls or concrete, use sleeves to provide room for movement and protect against stress.
Never embed solvent-cemented joints within concrete; instead, use mechanical fittings or make provision for future inspection.By doing this, your SWR pipe fittings system will work effectively for years. Good planning, cutting, cleaning, and curing are essential steps for a leak-free and long-lasting septic pipe or drainage pipe setup. For residential or commercial purposes, these tips keep your plastic drainage pipe system running at high performance and reliability.